Restoring a worn-out steering wheel in your 2000s pickup truck is not only a practical task but also a rewarding project that can bring new life to your vehicle. Whether you’re aiming for a perfect vintage steering wheel restoration or simply want to make your truck more comfortable and visually appealing, this guide will walk you through the process step-by-step.
Why Restore Your Steering Wheel?
Over time, the steering wheel in your pickup truck can become worn out due to constant use, exposure to sunlight, and the natural wear and tear of materials. A worn-out steering wheel not only looks unsightly but can also affect your driving experience. Restoring it can:
- Enhance the aesthetic appeal of your truck’s interior.
- Improve grip and comfort while driving.
- Increase the overall value of your vehicle, especially if it’s a vintage model.
Assessing the Damage
Before you start the restoration process, it’s important to assess the extent of the damage. Here’s what to look for:
- Cracks and Splits: Check for any visible cracks or splits in the steering wheel.
- Fading and Discoloration: Noticeable fading or discoloration can make your steering wheel look aged and worn.
- Worn-Out Padding: If your steering wheel has padding, check if it has become thin or flat in certain areas.
- Loose Material: Inspect for any loose or peeling material, especially if it’s leather-wrapped.
Gather Your Tools and Materials
To restore your vintage steering wheel, you’ll need the following tools and materials:
- Steering wheel puller
- Screwdrivers
- Sandpaper (various grits)
- Epoxy putty
- Primer and paint (or leather dye if applicable)
- Clear coat
- Microfiber cloths
- Leather conditioner (if applicable)
- Masking tape and plastic sheeting
- Gloves and safety goggles
Step-by-Step Restoration Process
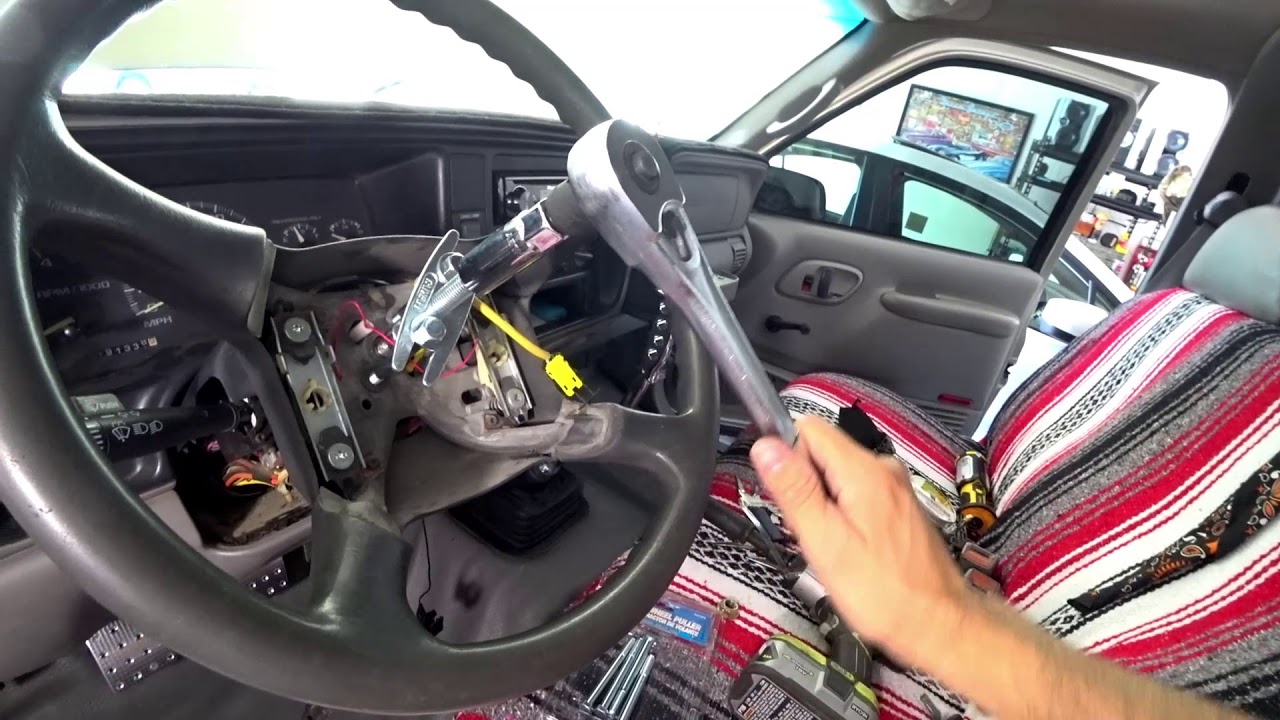
Step 1: Remove the Steering Wheel
- Disconnect the Battery: To prevent any electrical issues, disconnect the battery before you start working on your steering wheel.
- Remove the Steering Wheel: Use a screwdriver to remove any screws holding the steering wheel cover. Once the cover is off, use the steering wheel puller to remove the steering wheel from the column.
Step 2: Clean the Steering Wheel
Thoroughly clean the steering wheel to remove any dirt, grease, and old residue. Use a mild cleaner and a microfiber cloth. If your steering wheel is leather-wrapped, use a leather cleaner specifically designed for automotive use.
Step 3: Sanding and Smoothing
- Sand the Surface: Use coarse-grit sandpaper to sand down the entire surface of the steering wheel. This will remove any old paint or finish and create a smooth surface for repair.
- Address Cracks and Splits: For any cracks or splits, use epoxy putty to fill them in. Smooth the putty with fine-grit sandpaper once it has dried.
Step 4: Priming and Painting
- Apply Primer: If you’re painting your steering wheel, start by applying a primer. This will help the paint adhere better and provide a smooth finish.
- Paint the Steering Wheel: Once the primer is dry, apply your chosen paint color in thin, even coats. Allow each coat to dry before applying the next. For a vintage look, consider using a color that matches the original factory finish.
- Clear Coat: After the paint has dried completely, apply a clear coat to protect the paint and give it a glossy finish.
Step 5: Restoring Leather-Wrapped Steering Wheels
If your steering wheel is leather-wrapped, follow these additional steps:
- Sand the Leather: Use fine-grit sandpaper to gently sand the leather surface. This will help the dye adhere better.
- Apply Leather Dye: Using a sponge or applicator, apply leather dye evenly over the entire surface. Allow it to dry completely.
- Condition the Leather: Once the dye is dry, apply a leather conditioner to keep the leather supple and prevent cracking.
Step 6: Reinstall the Steering Wheel
- Reattach the Steering Wheel: Carefully place the steering wheel back onto the column and use the steering wheel puller to secure it in place.
- Reconnect the Battery: Once everything is securely in place, reconnect the battery.
Tips for Maintaining Your Restored Steering Wheel
To keep your vintage steering wheel looking great and functioning well, follow these maintenance tips:
- Regular Cleaning: Clean your steering wheel regularly with a mild cleaner or leather cleaner.
- Avoid Harsh Chemicals: Avoid using harsh chemicals or abrasive cleaners that can damage the finish or leather.
- Use a Sunshade: Protect your steering wheel from direct sunlight by using a sunshade when parked.
- Condition Leather Regularly: If your steering wheel is leather-wrapped, condition the leather regularly to keep it soft and prevent cracking.
Conclusion
Restoring a worn-out steering wheel in your 2000s pickup truck is a manageable project that can significantly enhance the look and feel of your vehicle. By following this step-by-step guide, you can achieve a professional-looking restoration that brings new life to your vintage steering wheel. Not only will you enjoy a more comfortable and aesthetically pleasing driving experience, but you’ll also preserve the value and charm of your beloved pickup truck. Happy restoring!
Sebastian is an accomplished author with a passion for storytelling. His works span various genres, from thrilling mysteries to heartfelt romance novels. With a keen eye for detail and a knack for character development, Sebastian weaves engaging narratives that captivate readers and transport them to new worlds.